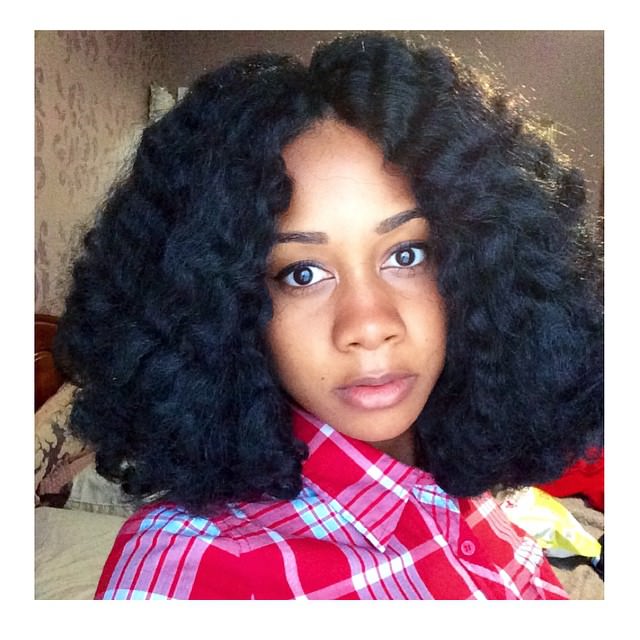
One of the easiest and most realistic looking protective styles, our crochet braids have to come out eventually just like everything else.
After the hours of installation, you might be dreading removing your style because it seems like it’ll take forever to uninstall.
Fortunately though, crochet braids are super quick and easy to remove. Here are a few tips for removing your crochet braids:
Know when it’s time to take them out
How do you know it’s time to take out your braids? Most women remove their crochet braids after four to six weeks. If your braids begin to feel loose, or if the Marley hair starts to become excessively tangled, then it’s definitely time to uninstall.
Cut excess hair
If you don’t plan on reusing the Marley hair (especially if it’s become tangled), you can cut excess hair to make it easier for yourself. Cut the majority of the length, but leave a little length so that you have something to hold on to when tackling the knots.
Part & remove in sections
All you need to remove your crochet braids are a pair of scissors. Simply separate one section of hair from the rest and secure the rest of the hair with a scrunchie or hair clip.
It’ll be easier to make the part based on your braiding pattern. Use your scissors to cut the top of the knot you created with the Marley hair. It’s important to make sure that you DON’T cut your own hair. Focus the scissors on the knot.
Once you cut it, you can pull out the little piece of hair that remains. Of course, repeat this all over your head until you’re finished.
This quick one minute video from My Natural Sistas shows how to remove crochet braids. Once you’re done and you’ve unbraided your hair as well, give your hair some real TLC with a good deep condition.
Give your hair a short break if you decide to do this style again. An excellent protective style: it’s a great way to help retain length in your natural hair, as well as keep it out of the way!