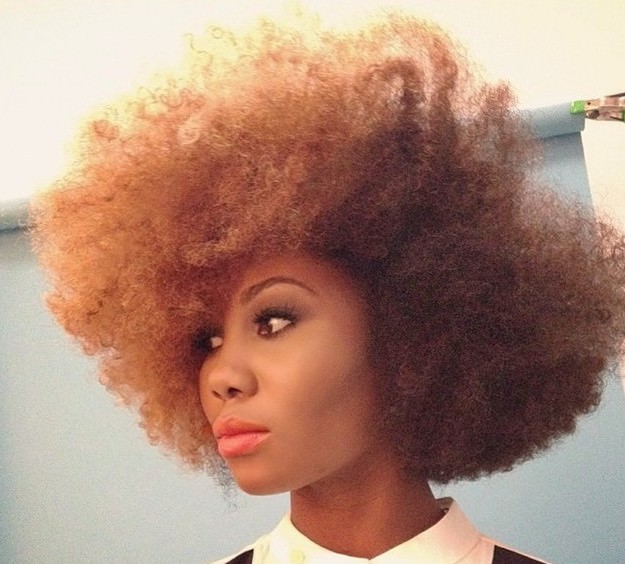
Coco Chanel once said that ‘A woman who cuts her hair is about to change her life’. Now, you can take that to the extreme if you want, but some times we just want to switch up our look a little without going all the way in with something drastic.
If you find that you’re more of a DIY naturalista, and don’t want to sit in a salon or leave your tresses vulnerable to just any hair stylist, this video tutorial for how to cut layers into your own hair should be very useful!
However we have to mention that even though there are video tutorials out there that can assist you with cutting your own hair we always recommend going to a professional hair stylist for any many drastic hair changes, like coloring and or hair cuts. With that said, attempt this style at your own discretion!
- Ponytail Holders (Scrunchies)
- Professional hair scissors (NOT regular scissors, which can cause damaged ends)
- Section hair from the crown of your head (going from ear to ear). Gather the hair into a ponytail, and place a ponytail holder at the absolute end. Trim the hair at the bottom of the ponytail holder. Leave it in and move to the next section.
- Gather the next section into a ponytail holder at the ends as well. This time however, bring it up to match the section you just cut. Cut straight across so that both sections are the same length
- Repeat in the back. The only difference is that you will create two ponytails instead of one. Match those sections together and cut as well.
- Even if you are cutting your hair curly, make sure to gently finger detangle (especially towards the ends) so that your cut will be even
- Don’t cut too much hair at once – you can always go back and cut more if you need too, but if you cut too much there’s no going back
- Use your fingers to create sections because it’s easier and more natural
Check out the video tutorial:
What do you think? Would you try this cutting method, or would you rather go to a professional?